by Lance Hill | May 19, 2026 | How To, Mirliton, Uncategorized

Overview:
As most of you know, I provide free diagnosis and treatment for mirliton plant diseases and problems to this group. I’m also training Tedra Stanley and Michelle Impastato Glore to do the same. I’m not a formally trained plant pathologist, but have learned through over 40 years of growing mirltons and researching scientific studies on plant diseases.
Expertise matters: You don’t go into your doctor’s waiting room and ask other patients, ‘What’s wrong with me?’ You wait until you see the doctor.
Here are the six steps that we follow when diagnosing and treating your mirliton problems, and the underlying theory behind our approach to handling plant problems whenever you post a photo and ask, “What’s wrong with my mirliton?”
- First, we ask questions:
Lots of them. Because each grower is unique, different varieties, different soils, different beds, different weather, and different watering methods (overhead or base). We need this information to accurately diagnose the problem. When you take a child to a doctor with what you think may be measles, you reasonably expect the first question out of the doctor’s mouth will be, “Has your child been around anyone who has measles?” We need this information because, unlike a professional plant pathology laboratory, we don’t examine the fungi on leaves and stems with a microscope, so we must rely on visible photographic signs of the disease and the plant symptoms-in-context (the plant’s response and its full history).
After you answer the questions, we may ask for additional close-up photos of the plant’s leaves and of the affected leaf or stem. Good close-up photos of the leaves are indispensable because we rely on visible signs of the diseases to diagnose them.
After that, we move forward with our approach to remedying the problem and the theory on which it is based, borrowed from medical doctors: a stepped care model.
2. Can You Get a Quick Diagnosis? Maybe:
If you walk into a doctor’s office with a nail in your foot, no questions are necessary. Same with mirlitons; sometimes we can immediately recognize the problem and recommend treatment. But generally, we need to proceed in smaller steps to give you the most accurate diagnosis and effective treatment.
3. Preliminary Diagnoses:
We will offer a tentative diagnosis of the problem — and it may not even be a disease. It may be due to environmental factors — hardening off, transplant shock, chill damage, insects, over-watering, excessive rain, or sun. We will ask you to flag healthy leaves to see if the symptoms are spreading,
4. Eliminate the Possible Causes other Than Disease:
We first try to eliminate all other possible causes before we progress to the more disease-focused ones. Using the stepped care model, we will start with the least complicated remedies, ruling out other causes before progressing to more disease-focused ones. The problem might be insects or soil moisture, so we want to try insecticides, adding shade, or changing soil moisture to see if that remedies the problem. We don’t want to amputate limbs if you just need a bandage. We want to minimize your work and costs. Medical doctors refer to it as “starting with conservative treatment.”
5. Disease Diagnoses and Treatment Plan:
If we go through all these steps and none of them correct the problem, we will go to the final step: identifying the disease and providing a treatment plan. We will recommend the simplest and least expensive fungicide.
Powdery Mildew and Anthracnose:
The two principal diseases that most frequently afflict mirlitonst are powdery mildew and anthracnose.
Powdery mildew has a simple cure. There’s a time-tested, inexpensive fungicide that will eradicate it: potassium bicarbonate. You only have to apply until the symptoms are gone.
Anthracnose is not so easy. There is no inexpensive and proven solution. The fungus that causes the disease has developed resistance to most chemical fungicides. We are currently testing an organic biofungicide — Timorex Act — but we have not yet obtained conclusive results. And it is very expensive because the company that makes it sells it only by the gallon.
The good news is that although most vines will eventually contract anthracnose, almost all will survive the infection without fungicide and will emerge with some acquired resistance to protect them from the disease the next year.
The most effective way to naturally protect the vine is to reduce water stress (over-saturation) and excessive exposure to solar radiation (by using shade cloths in the summer).
6. Final Step: Report Back so We Can do our job better:
The final step is to ask you to report back the results of any of the solutions we suggest, so we can get better at what we do!
by Lance Hill | May 19, 2026 | How To, Mirliton
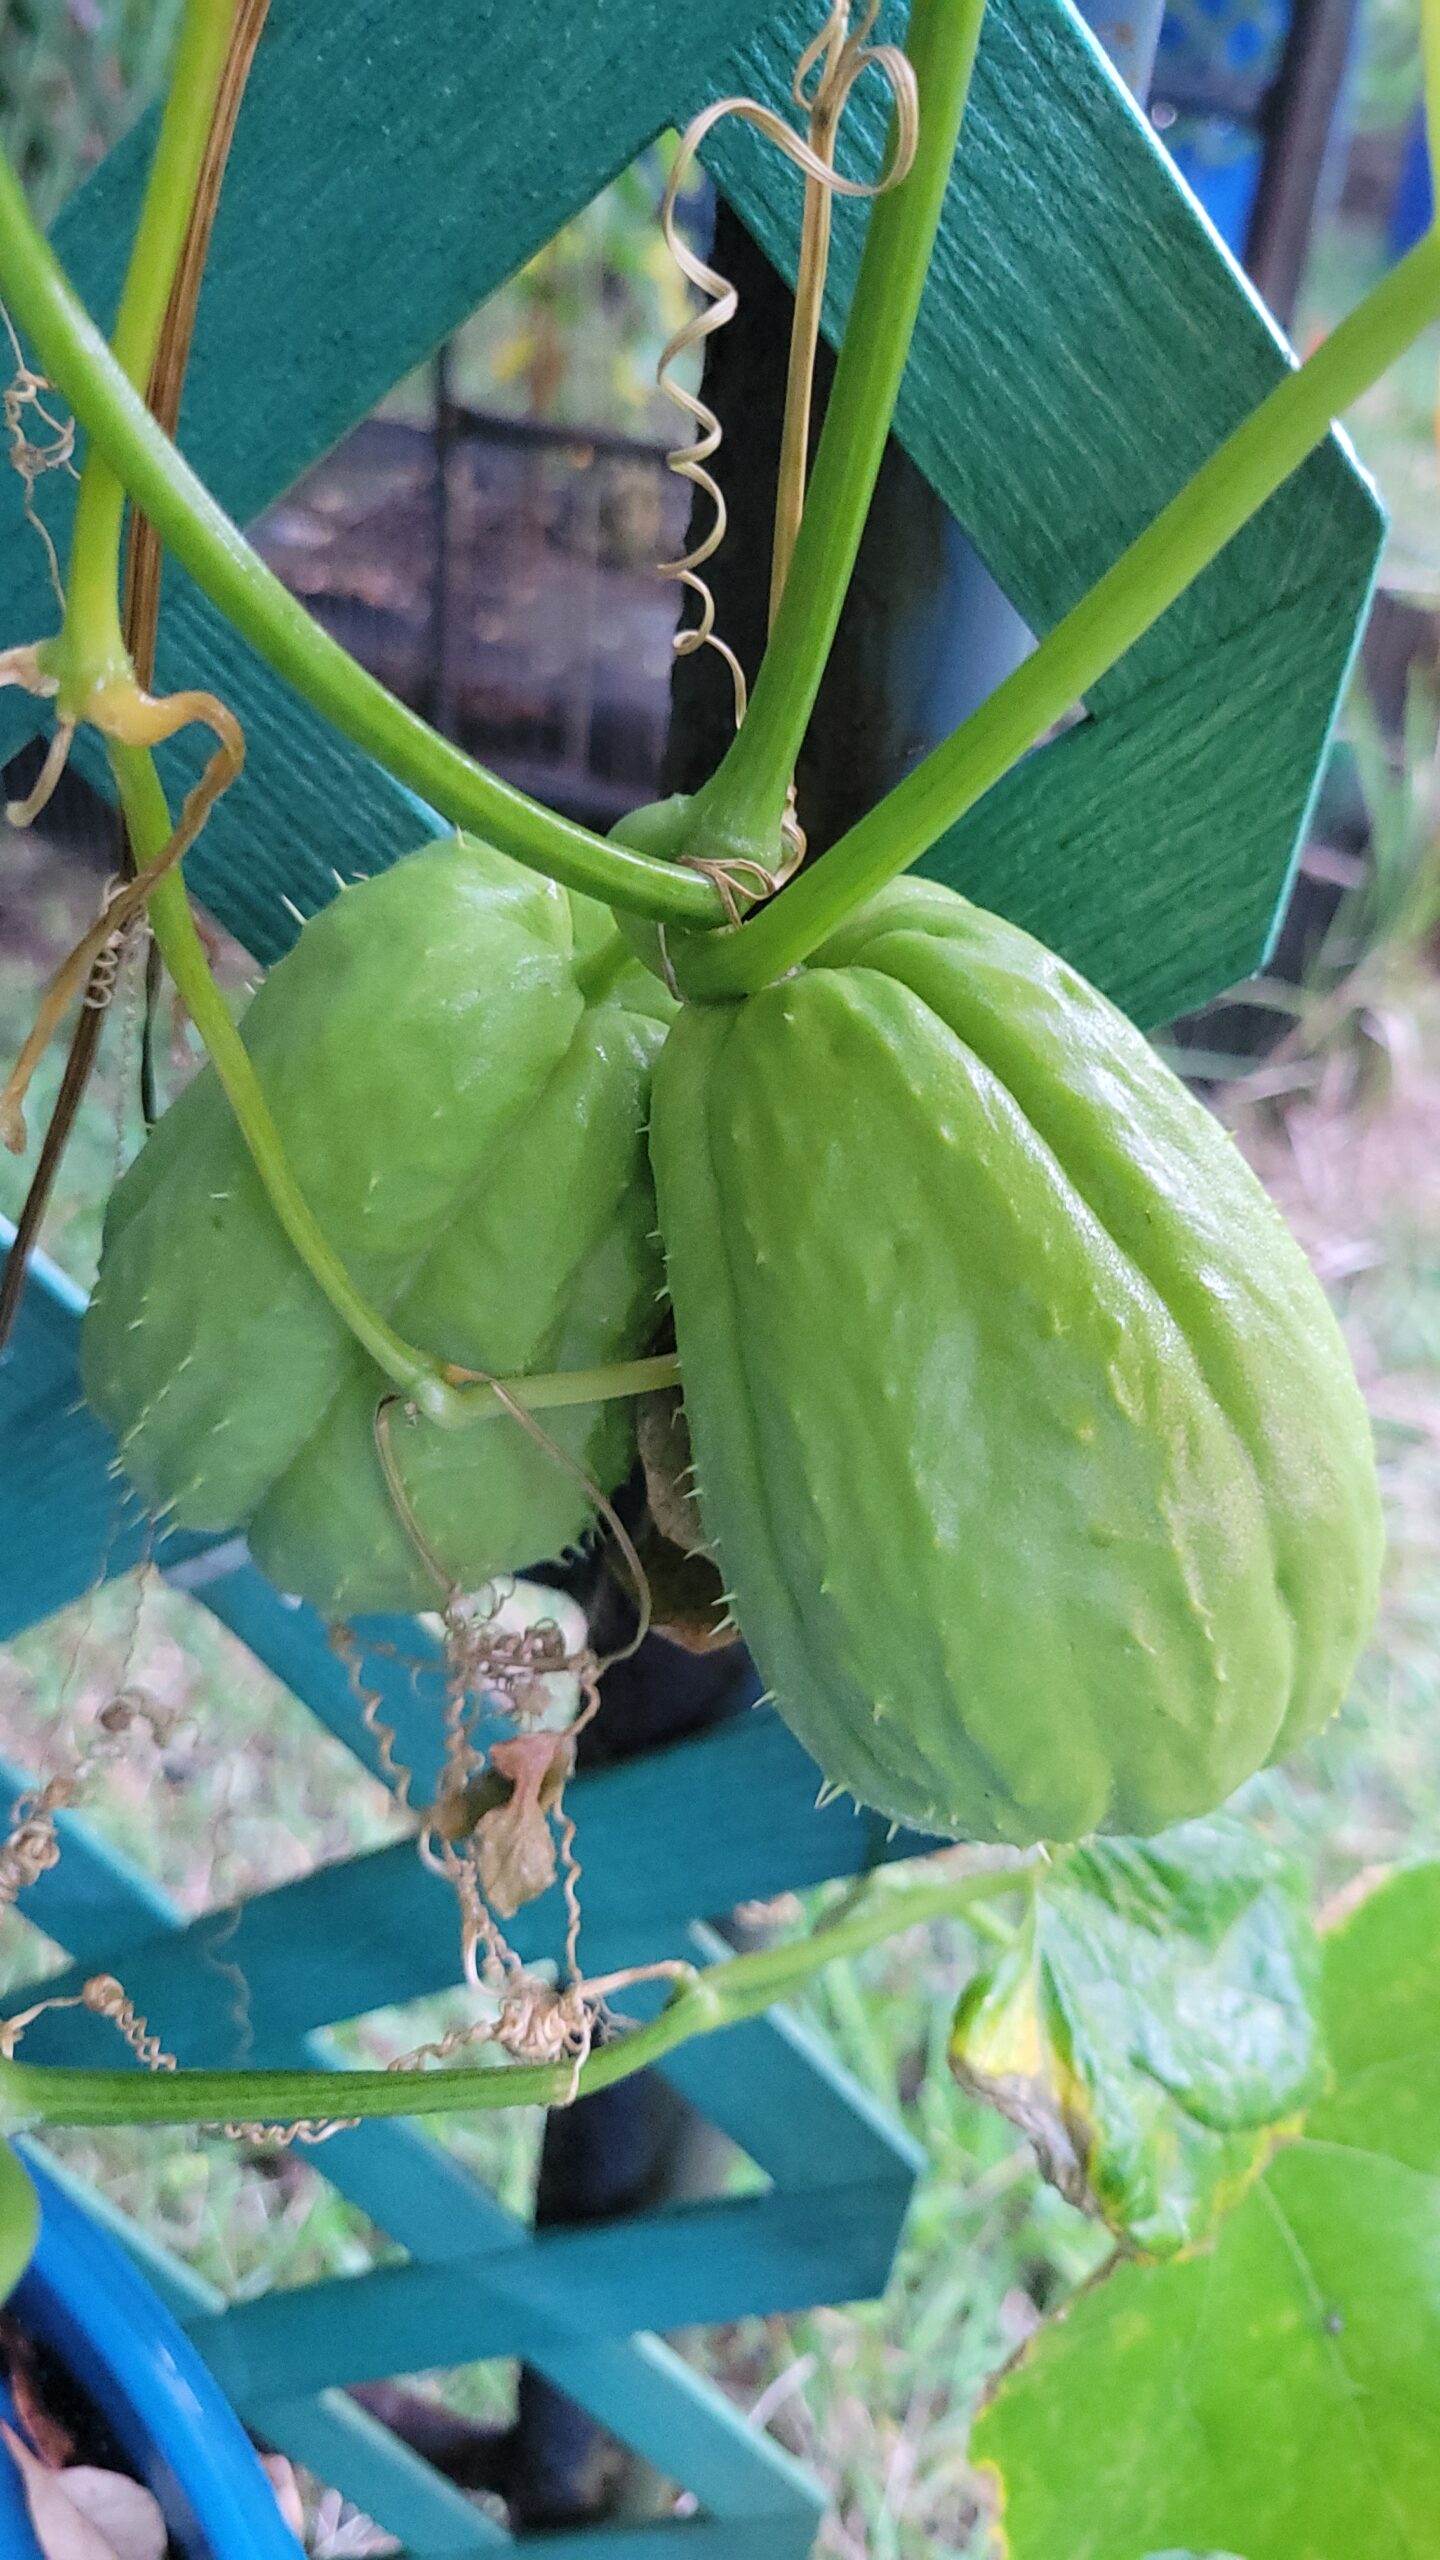
Two fruits on the DeBay Hydroponically-Grown Mirliton Vine
A Cool Weather Hydroponic Method of Growing Mirliton (Chayote) Vines and
Fruit in a 55 Gallon Blue Barrel
Perfected use of “Kratky Method” by William DeBay, on location in Haverhill, Florida
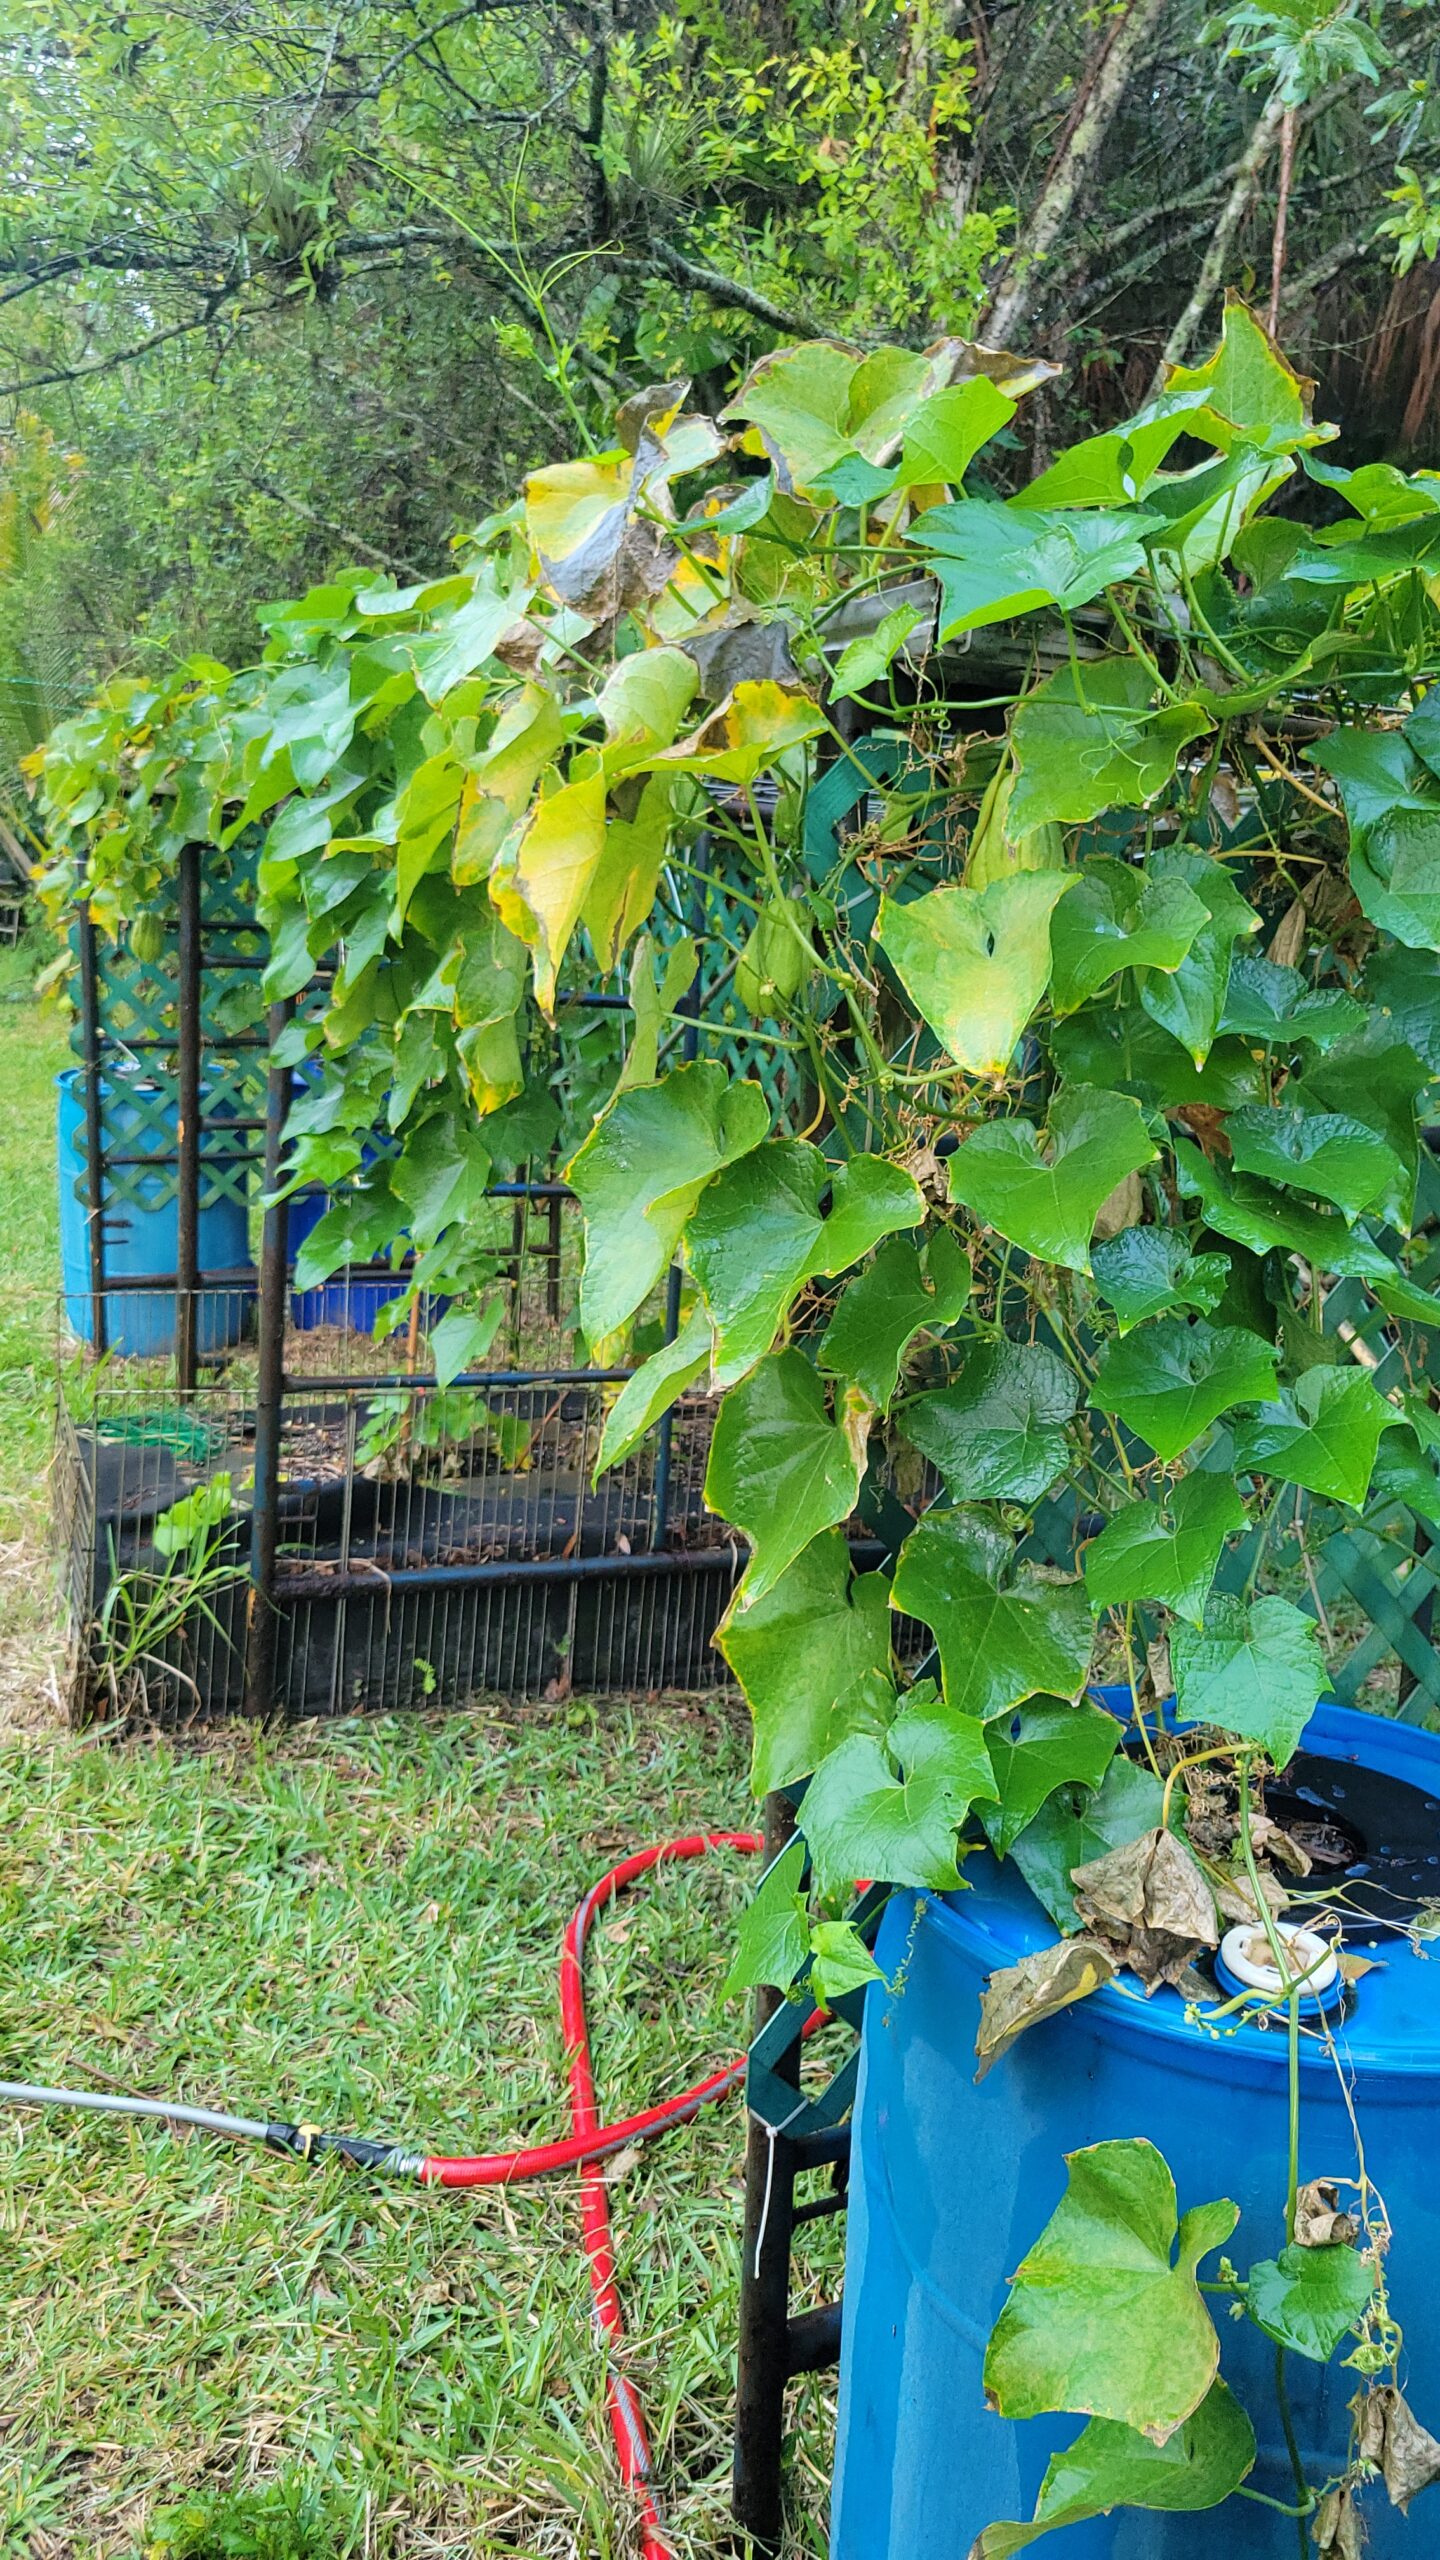
DeBay Hydoponically-Grown Mirliton
The following method was used in a 95-day period from January 10, 2026, to April 15, 2026, to achieve sprouting, vine growth, flowering, fruit set, and harvest of germinating Mirlitons.
This method is best suited for producing a quick harvestable crop in the cooler, short-day months of spring or fall. It should not be used in the summer months. Don’t use a smaller container, and keep the barrel out of direct sunlight because, as the water temperature rises, nutrient uptake is hindered. Wrap the barrel in silver reflective insulation, a radiant barrier, to mitigate the potential for hot water temperatures and algae growth. The nutrient solution is generally not changed during the process. It is allowed to drop to a certain level and then kept there with periodic small additions of nutrient solution.
Supplies:
Sprouting (germinating) mirliton fruit
Clean 55-gallon blue barrel (with fixed lid and 2 bungholes with screw caps)
5-gallon bucket
6” Net Pot Bucket Lid Insert
6” hole saw (or other preferred cutting tool)
Drill and 1⁄4” drill bit
Reflective insulation radiant barrier
Nutrients: (MasterBlend (4-18-38), Epsom Salt (Magnesium Sulfate), Calcium Nitrate (15.5-0-0)
Grams scale
pH measure (strips or meter)
EC (Electrical Conductivity) meter
pH Up and pH Down solution
Planting medium: PRO-MIX Premium Organic Garden Mix (or other preferred non-organic medium)
Procedures:
1. Place the 6” Net Pot Bucket Lid Insert on top of an empty 5-gallon bucket (on a level surface).
2. Add enough chlorine-free water to the bucket so that the bottom inch of the net pot is
submerged in water.
3. Remove the 6” Net Pot Bucket Lid from the bucket. For future reference, measure the distance
from the surface of the water to the top of the 5-gallon bucket rim.
4. Add to the water 4g Masterblend (4-18-38) and stir until dissolved.
5. Add to the water 2g Epsom Salt and stir until dissolved.
6. Add to the water 4g Calcium Nitrate (15.5-0-0) and stir until dissolved. This prescribed order in
which the nutrients are added to the water should never be changed. Masterblend (4-18-38)
should always be the first item. The next item should always be Epsom Salt. The last item should
always be the Calcium Nitrate (15.5-0-0).
7. Fill the net pot with moist planting medium.
8. Plant the sprouting mirliton into the planting medium in the same manner as it would be
planted in the ground. Plant the whole sprouting fruit at a 45-degree angle about 2/3 of the way
down with the sprouted end down in the planting medium. A thin support stick can be inserted
in the planting medium at this time.
9. Return the Net Pot Bucket Lid (with planted mirliton) to the 5-gallon bucket. The water level will
initially wet the bottom inch of the planting medium.
10. Place the assembled bucket planter under cover in indirect sunlight. Monitor the plant, being
sure that the planting medium stays moist but not wet. Mist with water if it looks dry.
11. The mirliton will grow one or more vines and will send roots down through the medium and into
the diluted nutrient solution.
12. The lid can be lifted periodically to check on the root growth progress. When several roots have
extended at least 5 inches out of the bottom of the net pot and into the water, the vine can be
hardened off for the final planting location. Leave the lid and the vine on the bucket during the
hardening process.
13. Cut a 6-inch hole in the center of the barrel end (the top end that includes the bungholes).
14. Drill several 1⁄4 inch drain holes along the edge of the same end of the barrel. There is a ridge
around that end of the barrel. The drain holes must be made to prevent water from collecting
on top of the barrel. Be careful not to drill into the inside of the barrel.
15. Rinse out the barrel.
16. Wrap the barrel in a reflective insulation radiant barrier.
17. Place the insulated barrel (hole side up) in the location you plan to grow the mature vine.
18. Fill the barrel half full with unchlorinated water.
19. Add to the barrel water 120g Masterblend (4-18-38) and stir until dissolved.
20. Add to the barrel water 60g Epsom Salt and stir until dissolved.
21. Add to the barrel water 120g Calcium Nitrate (15.5-0-0) and stir until dissolved.
22. A measurement was made in step 3. Now, add 3 inches to the measurement in step 3.
23. Fill the barrel with additional water until the level below the hole is the measurement distance
computed in step 22. Stir the contents of the barrel.
24. Check the pH of the nutrient solution in the barrel and adjust if not between 5.5 and 6.0. pH Up
and pH Down can be used to adjust the pH.
25. Move the Net Pot Bucket Lid (with rooted and hardened mirliton vine) from the 5-gallon bucket
and place the pot into the center hole of the barrel. Be careful not to damage any roots. If step
23 was done correctly, the roots will be in the water, but the water will not be touching the
bottom of the Net Pot.
26. The Kratky method is a passive, low-maintenance hydroponic technique developed by Dr.
Bernard Kratky, who grows plants without pumps, electricity, or aeration. As roots consume
water, an air gap forms for oxygen, allowing plants to grow to maturity, ideally, with a single
initial fill. However, a mirliton vine will require the addition of replacement nutrient water as it
matures. Do not let the water level drop by more than 50%. If the level is going below fifty
percent, it should be replenished, but do not replenish more than a gallon of nutrient fluid per
day. Adding too much liquid at a time runs a risk of killing the “air roots” that develop in the air
space. Refill nutrient solution can be mixed in a separate 5-gallon bucket of water as follows:
1. Add to the water 12g Masterblend (4-18-38) and stir until dissolved.
2. Add to the water 6g Epsom Salt and stir until dissolved.
3. Add to the water 12g Calcium Nitrate (15.5-0-0) and stir until dissolved.
Store this bucket of refill nutrient solution, with the lid on, in a cool, dark location. Temporarily
remove the bunghole caps to test and refill the nutrient solutions in the barrel.
27. Monitor the pH and EC level on a regular basis and adjust accordingly. pH should ideally be
between 5.5 and 6.0. EC should ideally be between 2.0 and 2.5.
by Lance Hill | May 15, 2026 | How To, Mirliton
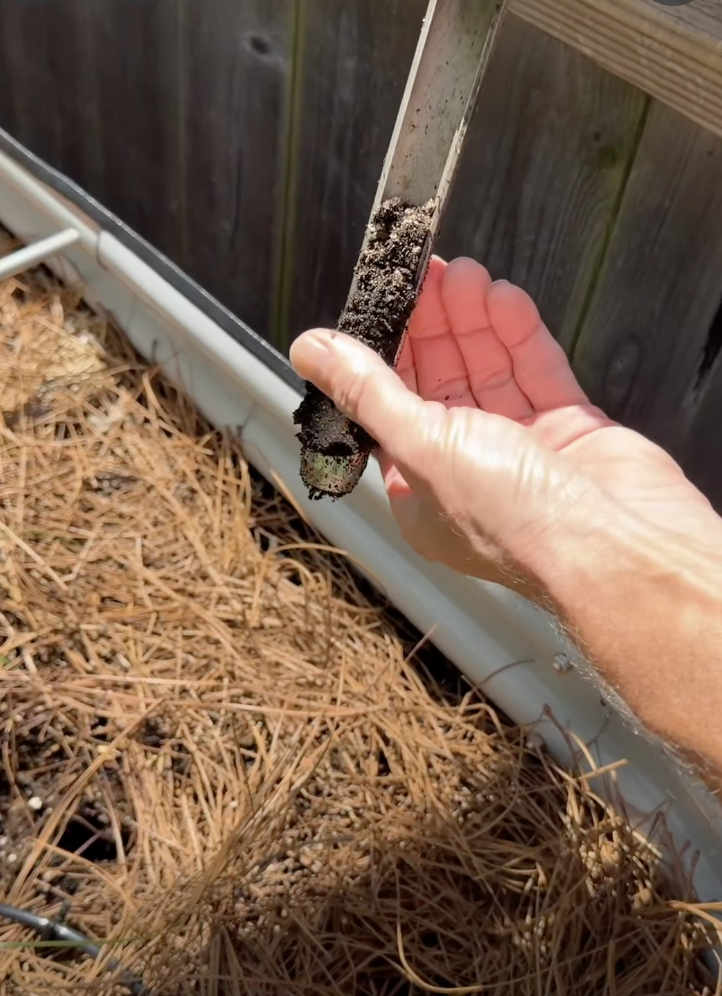
Michelle Impastato Glore takes a soil sample from her raised bed.
If you felt feverish and wanted to check your temperature, you wouldn’t guess; you would get a thermometer and take your temperature. Your garden soil is no different, and we now have a way to determine exactly how much soil moisture your mirliton has available: the soil sampler.
The soil sampler is the simplest way to see how much moisture your mirliton roots are getting. It’s the quickest and most inexpensive way to determine if you have overwatered or underwatered your vine. Knowing what is happening several inches below the surface is even more important during droughts — many growers lost their vines during the heatwaves in 2023 and 2024 because the soil was starved of moisture.
The “knuckle” method of sticking your finger into the soil only tells you what the soil moisture is near the surface; that method does not work with mirlitons because the roots extend downward 8″. Electric meters are also ineffective because they measure electrical conductivity–not soil moisture. The only way to know the available soil moisture beneath your mirliton is to see and feel it, and that’s exactly what a soil sampler lets you do. Mirliton growers in Brazil have used this method for years.
Michelle Impastato Glore demonstrates how easy it is to take a sample and check moisture levels at all root zone levels. First, insert the sampler, twist 180°, and pull a core sample. Then, examine the soil by pressing down on it in the sampler at intervals of about every inch. Feel for moisture and how it compresses. That will indicate the amount of moisture present at each level. If it’s bone-dry and crumbly, it needs more water. If it’s muddy–it has too much. After a while, you will be able to easily take a reading by touch and sight. The soil will generally be moist at the surface, and it should even out as you go down about 8 inches.
See how Michelle does here
Buy a soil sampler here.
Recent Comments