Preparing Your Mirliton Planting Site
- Select a plant site. The most important thing to keep in mind is that water-saturated soil can drown a young mirliton. Even if your plant survives intense rains, excessive soil moisture later in the summer will stress the plant leading to anthracnose. Choose the best well-drained site on your property–away from roof run-off and preferably near a tree drip line. The vine does not have to initially be in full sun because mirlitons are sun-seekers and will follow a trellis to available sunlight. Ensure you have sufficient space for an overhead or vertical trellis.
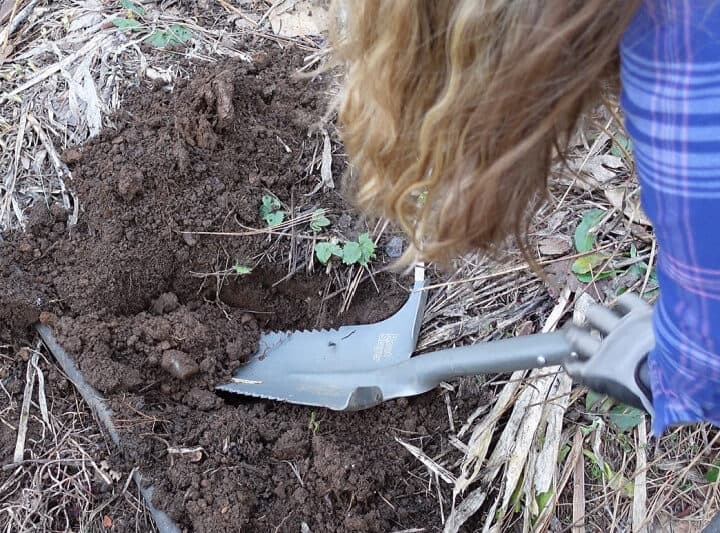
- Make a bed or a pit. Mirlitons thrive in loamy, well-drained soil. If you have that, prepare a bed at least 10′ x 10′ which will allow for an overhead trellis that can double as an enclosure for frost protection. Till the soil and add amendments if necessary (if you are using a raised bed, tilling the soil beneath is imperative to ensure bed drainage). But most growers are not fortunate to have good soil and certainly don’t want to waste a $10 seed on a $1 hole. In that case, I recommend a planting technique taught to me by Ishreal Thibodeaux of Opelousas: the pit method. It has been successfully used around the world wherever gardeners have clay or any poor soils. With this pit method, you essentially build a container below ground and fill it with your preferred soil mixture, just as you would for house plants. First, dig a pit 2′ x 2’ x 18” deep. Then fill it with a mix of equal parts: (1) the topsoil you removed from the hole, (2) commercial garden soil, (3) compost, and (4) manure (rabbit, if available). The wider the pit, the better the vine will do. Make enough mixture to also build the hill on top (below). If you choose to simply fill the pit with commercial garden or potting soil, make sure to blend it together with the topsoil that you removed (piling garden soil into the hole can create a “water barrier” where the ground soil cannot absorb excess moisture).
- Build a hill. Make a 2’ x 2’ hill on top of the pit using the same mix. Transplant your mirliton into that in late March after the normal last frost date and add a wire cylinder trellis so the vine can climb to the overhead trellis.
- Harden off the transplant: If you are planting a container plant that you have had inside or in a shaded area, ensure you place it in full sun for a few hours a day for five days before transplanting it into the ground. Sudden exposure to a full day of direct sunlight can burn the plant.
- Planting a Sprout? If you decide to directly plant the sprout instead of a containerized plant, skirt the surface and initial trellis with wire cloth to protect it from squirrels:
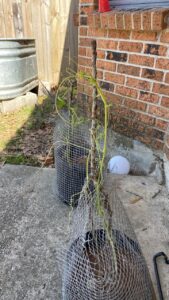
Steel wire squirrel protection. Wire mesh can also be used with ground plantings to prevent rodents from digging up the vine.
- Assemble your defense force. Prepare now for rain, pests, and diseases. We suggest you buy a: (1) rain gauge, (2) a soil sampler for testing soil moisture (3) potassium bicarbonate for powdery mildew, (4) BT for preventative management of vine borers, (5) sevin for preventative management of stink bugs, and (6) a shade cloth for the first two months of the plant.
Links:
Soil Sampler for Testing Soil Moisture
Potassium bicarbonate
Recent Comments