by Lance Hill | Feb 28, 2024 | How To, Mirliton
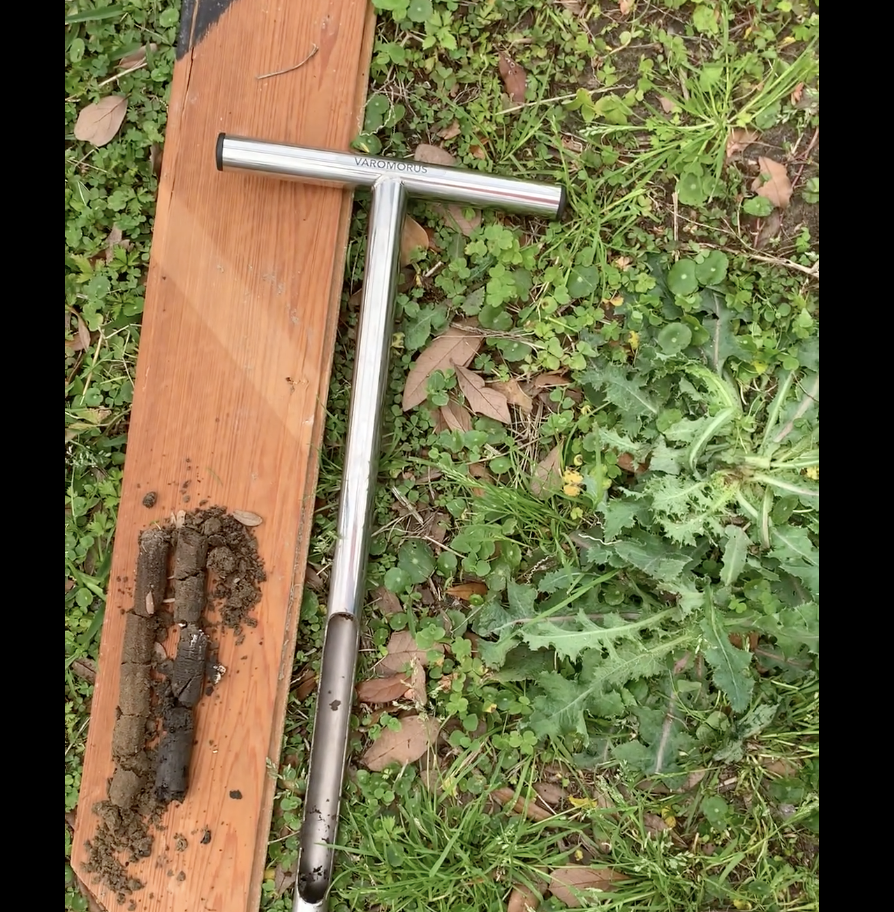 If you felt feverish and wanted to check your temperature, you wouldn’t guess; you would get a thermometer and take your temperature. Your garden soil is no different, and we now have a way to determine exactly how much soil moisture your mirliton has available: the soil sampler.
The soil sampler is the simplest way to see how much moisture your mirliton roots are getting. It’s the quickest and most inexpensive way to determine if you have overwatered or underwatered your vine. Knowing what is happening several inches below the surface is even more important during droughts — many growers lost their vines during the heatwaves in 2023 and 2024 because the soil was starved of moisture.
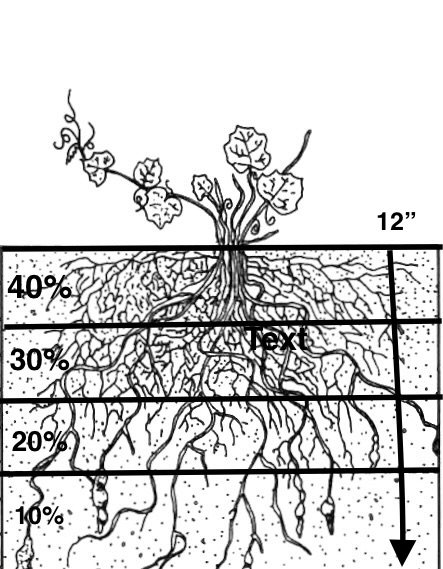
The “knuckle” method of sticking your finger into the soil only tells you what the soil moisture is near the surface; that method does not work with mirlitons because the roots extend downward 8″. Electric meters are also ineffective because they measure electrical conductivity–not soil moisture. The only way to know the available soil moisture beneath your mirliton is to see and touch it, and that’s exactly what a soil sampler allows you to do. Mirliton growers in Brazil have used this method for years.
James Leblanc demonstrates how to take a sample and check moisture levels at all root zone levels. First, pull a core sample and then examine the soil by pressing down on it in the sampler at intervals of about every inch. Feel for moisture and how it compresses. That will indicate the amount of moisture present at each level. If it’s bone dry and crumbly, it needs more watering. If it’s muddy–it has too much. After a while, you will be able to easily take a reading by touch and sight. The soil will generally be moist at the surface level, and should even out as you go down about 8 inches.
See how James does it here
Buy a soil sampler here..
Mirliton rootzone:
by Lance Hill | Feb 18, 2024 | How To, Mirliton
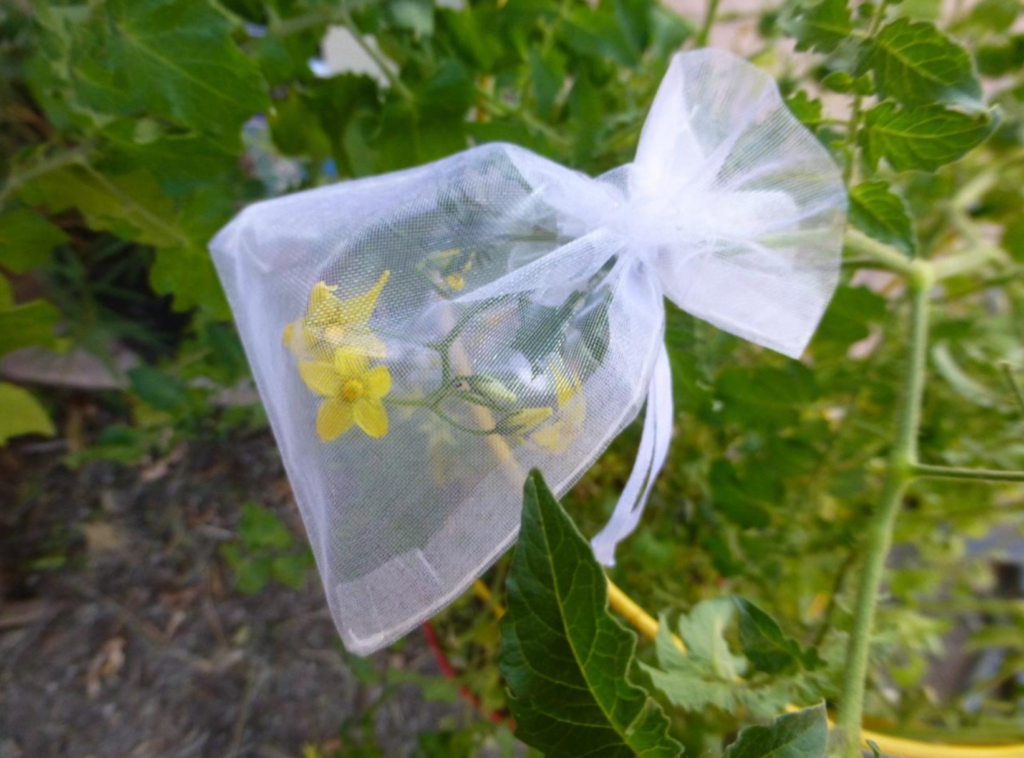
There are no scientific studies on cross-pollination in mirlliton varieties, so we can’t speak with any certainty about the chances of cross-pollination. Mirlitons are self-pollinating plants and are primarily pollinated by bees. Honey bees are systematic foragers; they will focus on one plant until they have collected all the nectar. That means they are less likely to carry pollen from another plant, thus reducing the risk of cross-pollination.
Because of this, generally, you can grow two different varieties with little risk of cross-pollination. If you grow only one variety at a time, you will have even less risk. But if you want to ensure that the offspring of a plant will be true-to-type, there is a simple way to do that: controlled pollination.
Using controlled pollination will guarantee that the specific fruit you picked from your vine will grow the same variety. Click here to see how to do it.
by Lance Hill | Dec 24, 2023 | How To
 Lee Flynn created and manages the Mirliton Seed Online Store, which she does as a volunteer. The store sells only certified Louisiana Heirloom Mirlitons. They are sold at cost, depending on the price that the grower charges (some are donated). Mirlitons are only available in season, and the quantity per order is limited so that everyone can obtain one. If we are out of stock, you will be put on a waiting list and be notified immediately when available. Click here for the store.
Additionally, people advertise heirloom mirlitons when they are in season (Spring and Fall) on our Mirliton.Org Facebook Group.
by Lance Hill | Oct 30, 2023 | How To, Mirliton
Frost Protection
There is a possibility of a damaging frost whenever the temperature drops below 38 degrees. You can protect your mirliton with either a minimum or maximum plan.
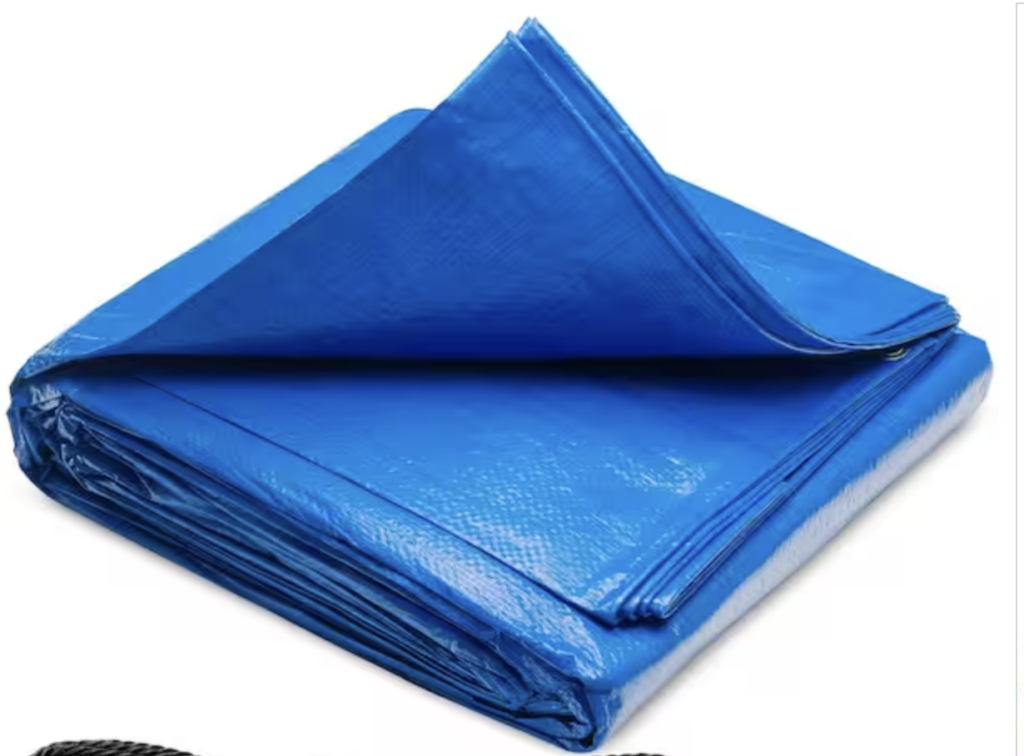
Minimum plan: Tent the vine the day before with a tarp or 4mil plastic cover. A FEMA tarp will work well. Weight down the edges of the tarp with bricks (you are trying to trap the heat from the soil inside the enclosure). This will raise the temperature a few degrees and may avert the frost.
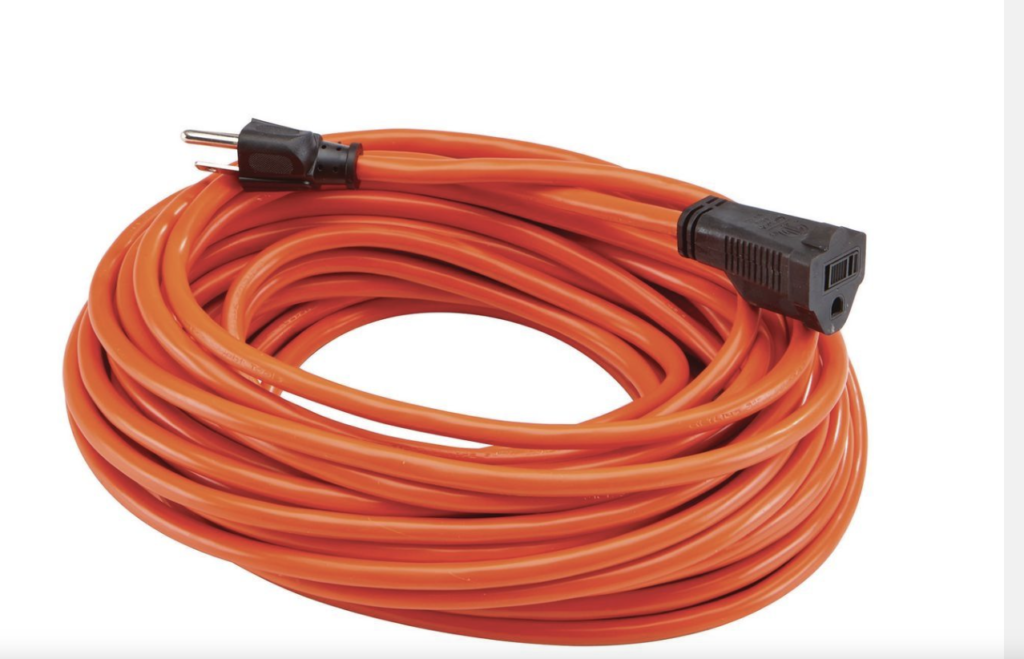
Maximum plan: Add heat to the tent. You will need an extension cord and a small space heater. A space heater will raise the tent’s internal temperature several degrees, which will protect the vine if temperatures dip to 32 degrees. There are also portable gas heaters. Buy a remote thermometer and place the sending unit in the tent enclosure and you will be able to see exactly what the internal temperature is. Remote thermometers will permit you to see what the temperature is in the tented trellis from the comfort of your home. They are the best defense against a freeze–and cost only
$20. Buy it here.


by Lance Hill | Oct 17, 2023 | How To, Mirliton
The Louisiana Mirliton Two-Step
Because of increased extreme weather events like Heat Domes and frequent hurricanes, we need to think entirely differently about when and how to grow mirlitons. We have two chances at a mirliton crop: Spring and Fall. We need to especially take advantage of our cool months, October through May.
Step One
Plant your mirliton seed or container plant in the fall and build a trellis for the vine to grow on all winter. When necessary, temporarily cover it with 4-mil plastic and warm it with a portable heater to protect it on frost/freeze days. By the following spring, the vine will have a large canopy to support flowering–and you will get a spring crop.
Step Two
To help your vine get through the summer, use the same trellis to support a 30% shade cloth to shade the vine from June through August, if necessary. That will give you a a good chance at another crop in the Fall
10’ X 25’ 4-mil plastic sheets
Space Heater
Shade Cloth
Remote Thermometer for Enclosure
by Lance Hill | Apr 30, 2023 | How To, Mirliton
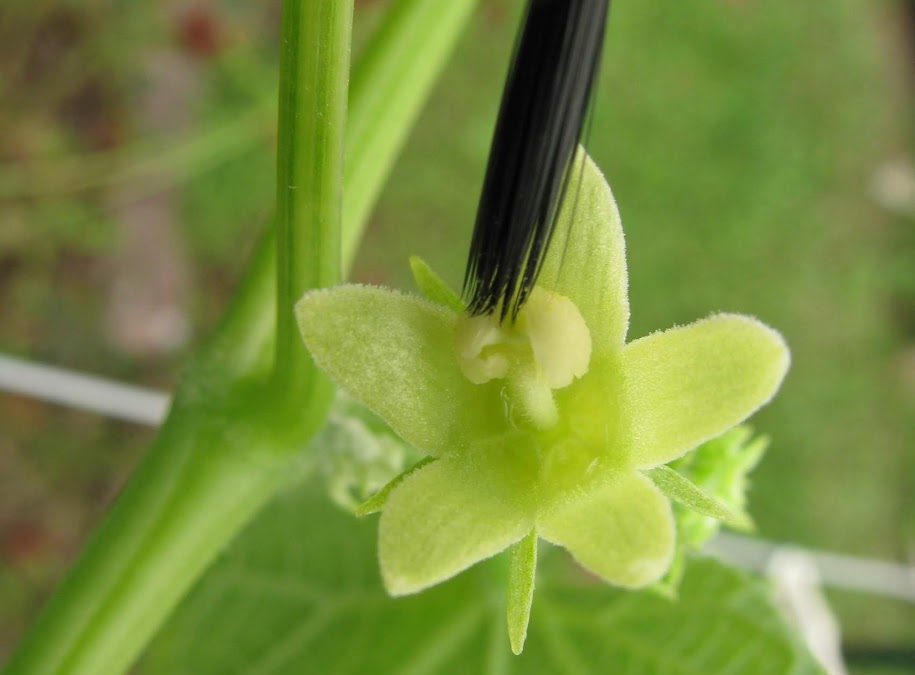
Sometimes bees and other pollinators are not doing their job, and you want to ensure that your female flowers are pollinated. Gardeners are often advised to remove male flowers and apply them to the females. But this destroys the male nectar, which attracts pollinators. Instead, the simplest way is to hand-pollinate with a slender artist’s brush with dark horse hair bristles (the nylon brushes won’t work). The bristles make it clear that you have collected yellow pollen from the males. Using a brush means you do not destroy the males and can return to them for additional pollen.
Click here to see how to do it.
Recent Comments