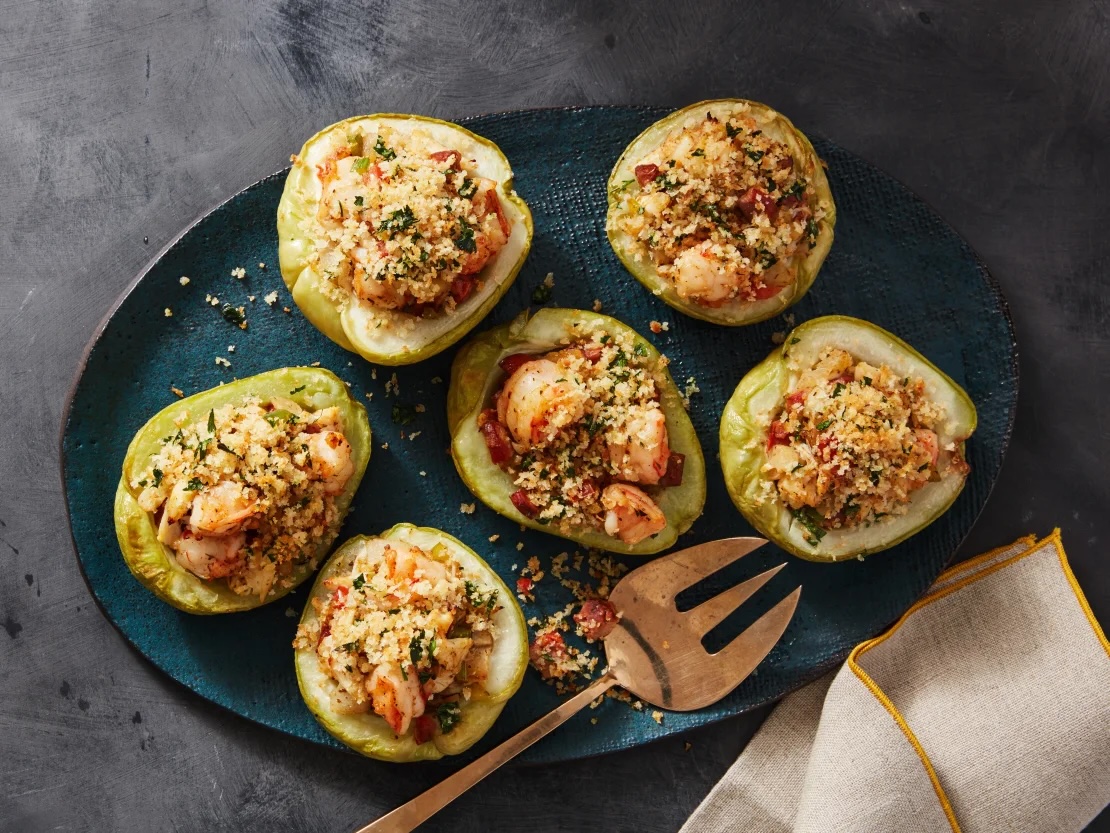
 How to Freeze Stuffed Mirlitons
Vacuum sealing is the best possible method, but if you don’t have a vacuum sealer, use the conventional method below. Stuffed mirlitons can last 3 months in the freezer if frozen conventionally and 6 to 12 months if vacuum-sealed.
Preparation:
- Peel the mirlitons: Peel under a stream of water or with gloves to prevent the sticky substance from adhering to your hands.
- Boil mirlitons: For 30-40 minutes, until fork-tender
- Drain the shells: After boiling and scooping out the pulp, turn the empty mirliton shells upside-down on a cooling rack to drain out excess water completely.
- Thicken the filling: Cook out excess moisture from your vegetable and meat mixture, then fold in enough breadcrumbs to bind it so the filling doesn’t become watery or soggy during freezing.
- Leave off final toppings: Fill the cooled shells with your mixture, but leave off the final layer of buttered breadcrumbs or cheese toppings; add these fresh after thawing just before baking.
- Pre-freeze: Place the stuffed shells on a baking sheet in the freezer for 2 to 3 hours until completely solid. This prevents the delicate shape and shell from collapsing or sticking
Wrapping and Storing:
- Double wrap: Wrap each solid, pre-frozen stuffed mirliton tightly in plastic wrap, then wrap it in a second layer of aluminum foil.
- Vacuum seal if you have a vacuum sealer. If not, use the conventional method: Place the wrapped shells inside an airtight heavy-duty freezer bag, squeezing out as much air as possible.
- Storage time: They will keep in the freezer for 4 to 6 months if conventionally stored and up to 2 months if vacuum-sealed.
Thawing and Reheating:
- Thaw safely: Defrost the mirlitons overnight in the refrigerator.
- Add toppings and bake: Top with your reserved breadcrumbs and a dot of butter, then reheat covered in a preheated oven at 350°F for 20 minutes, until hot all the way through.
- Bake on a rack in a pan to drain off any excess water.